




Blog
Insights & updates from our experts


Resolve plant floor and IT issues before they disrupt production.

Stay audit-ready while resolving issues and reducing operational risk.
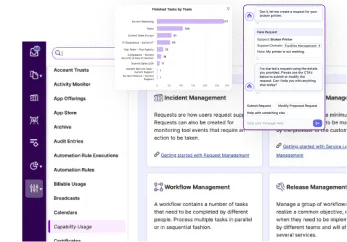
Resolve issues quickly with an AI-powered system that automates ticketing.
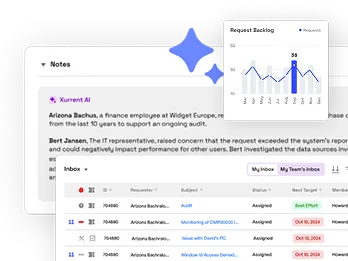
Unifiy IT, HR, Facilities, Finance, and more on a single, AI-powered service platform.
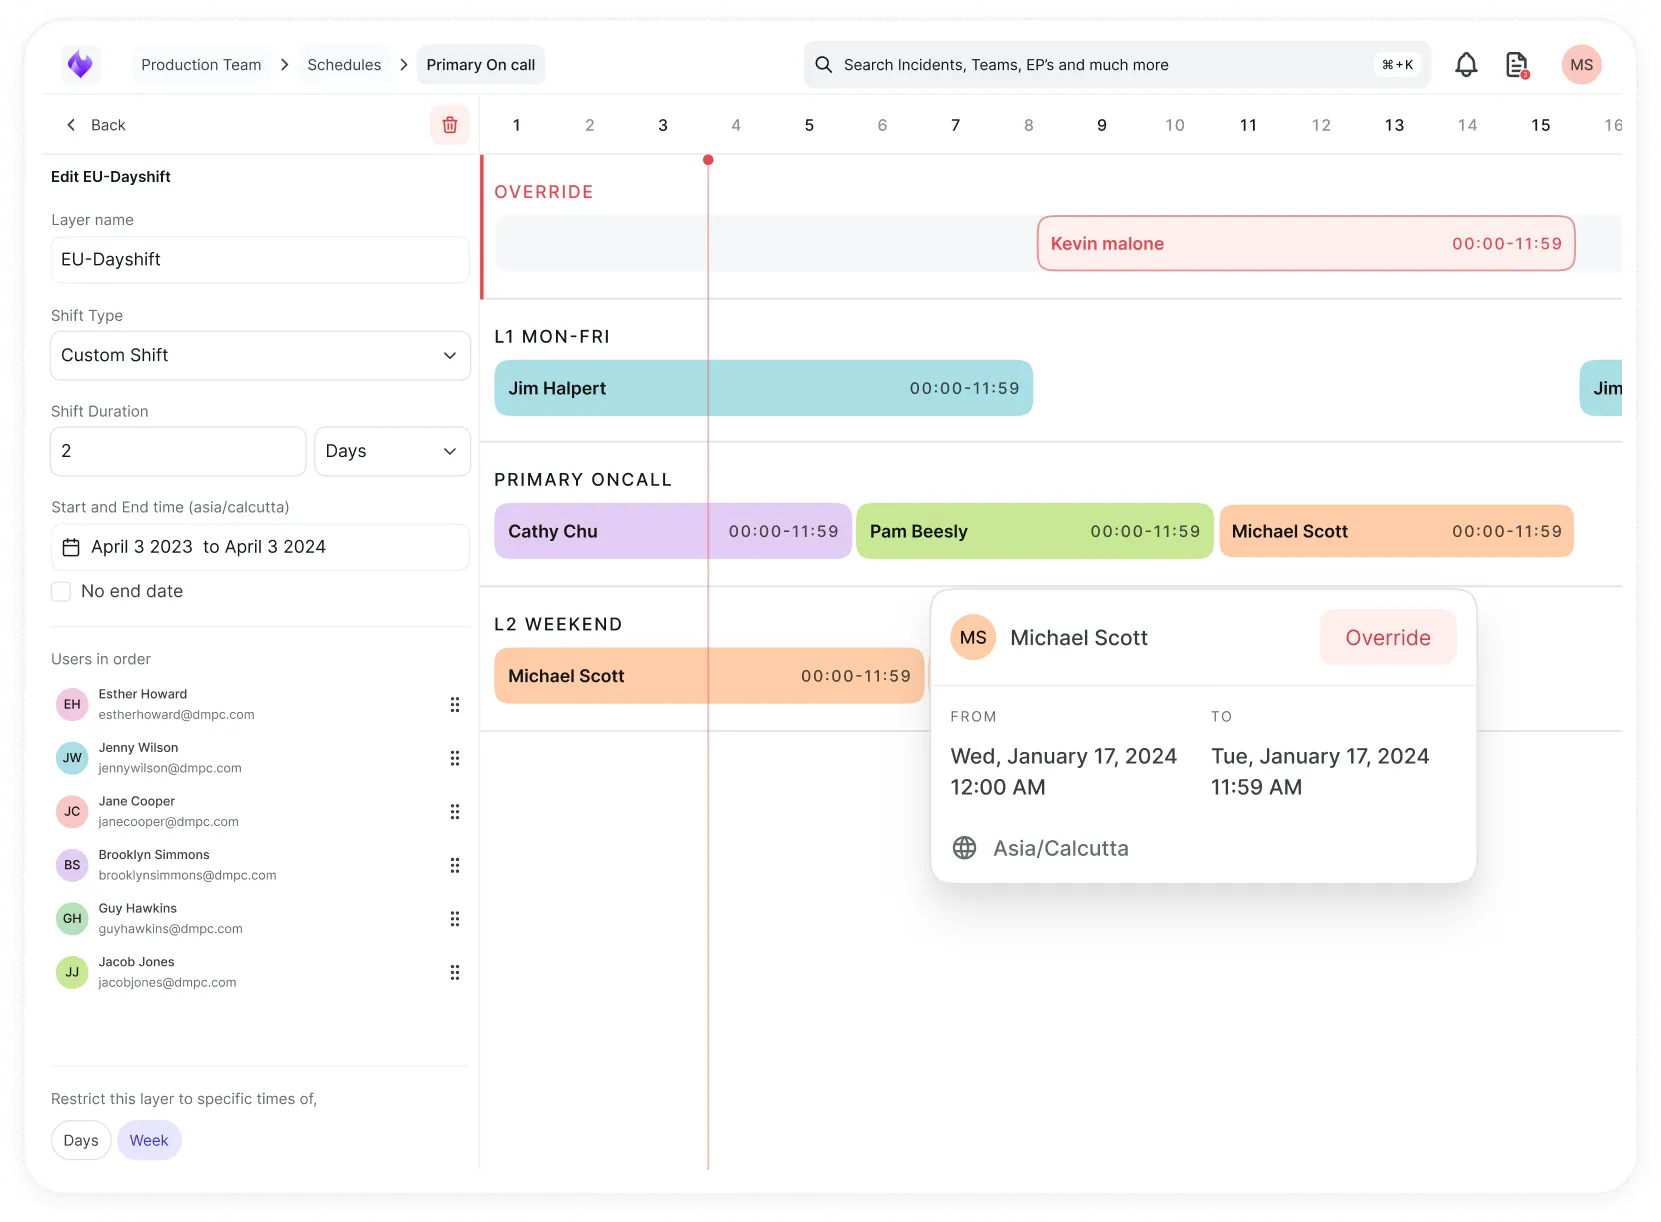
Simplify on-call scheduling, automate escalations, and reduce burnout.
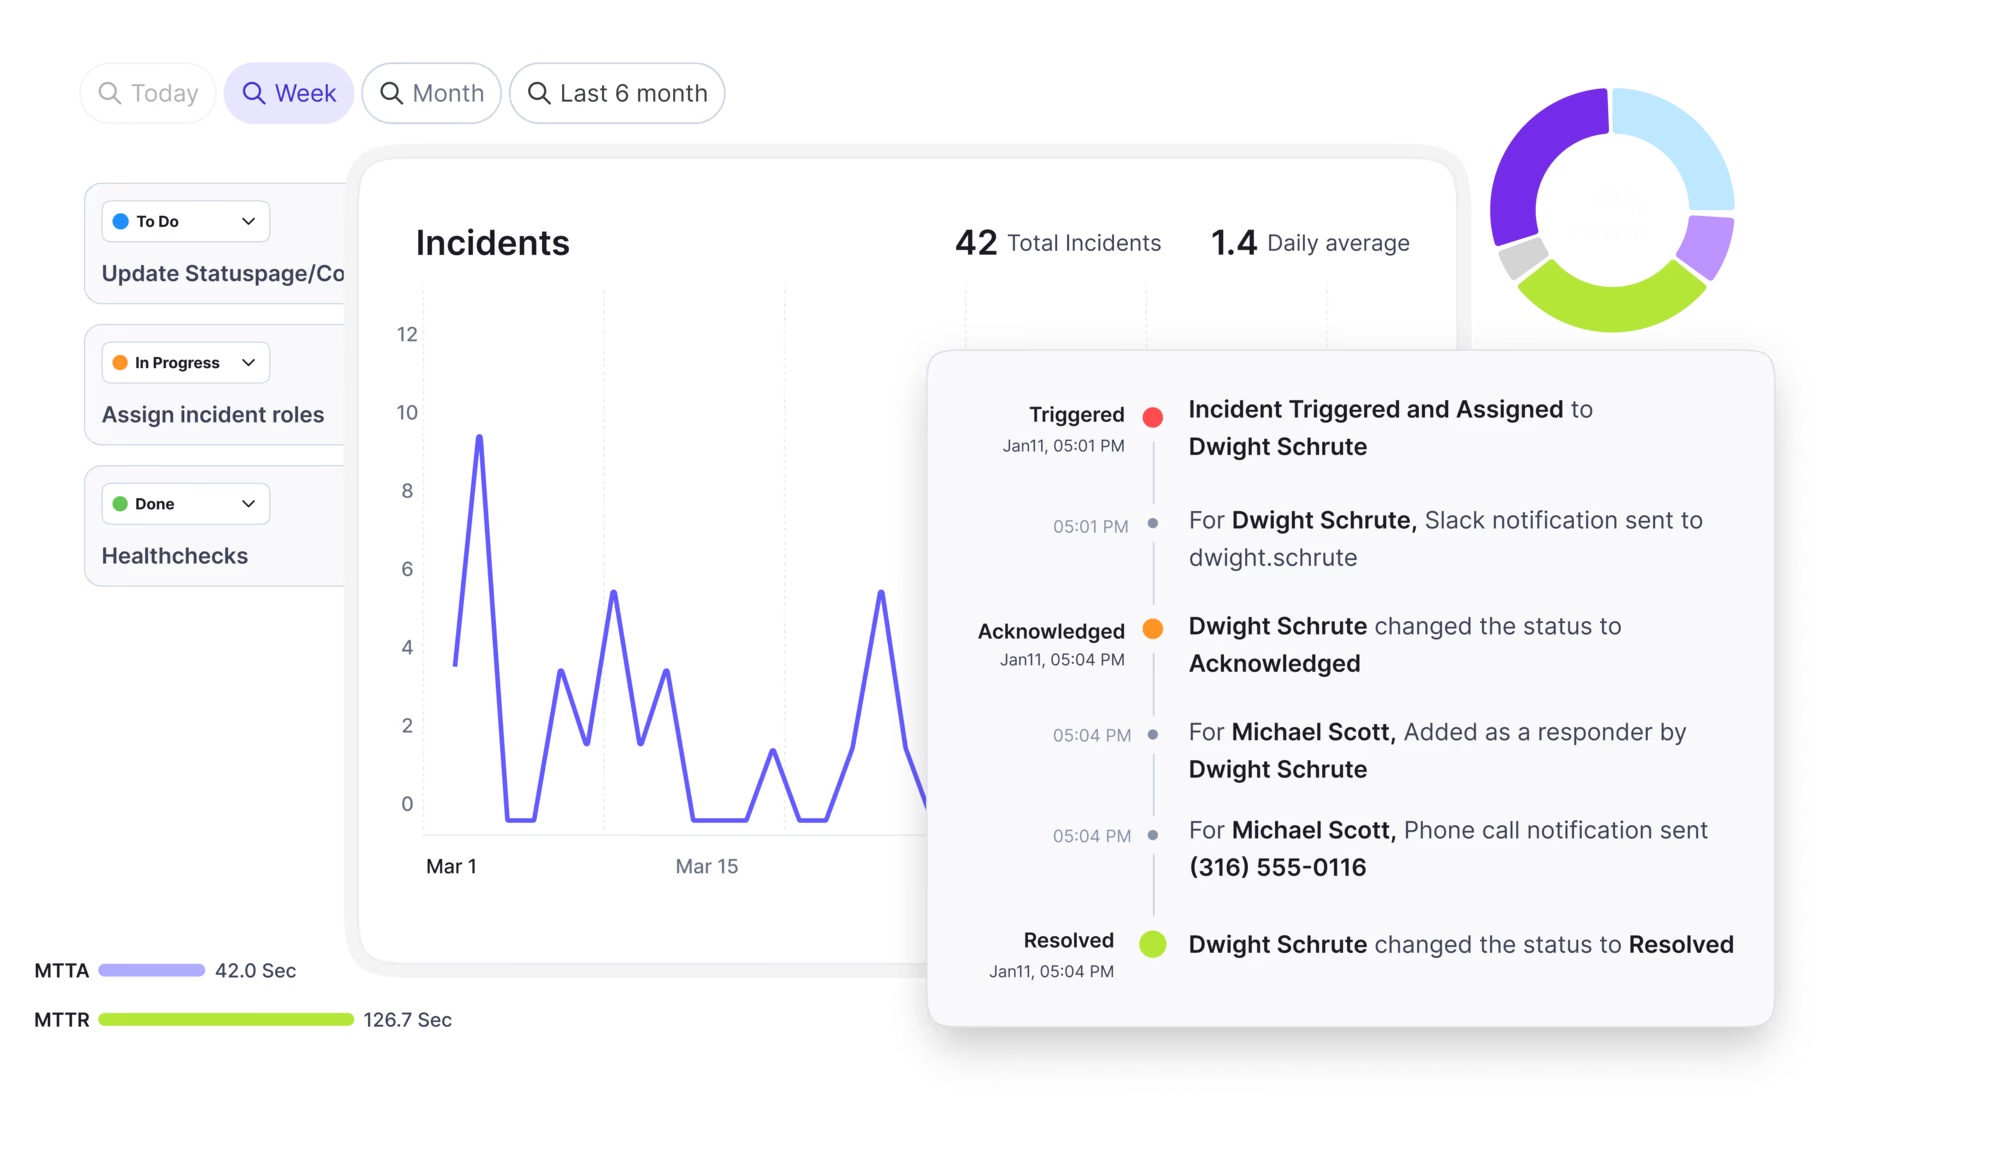
Automate postmortems, AI summaries, and post-incident workflows
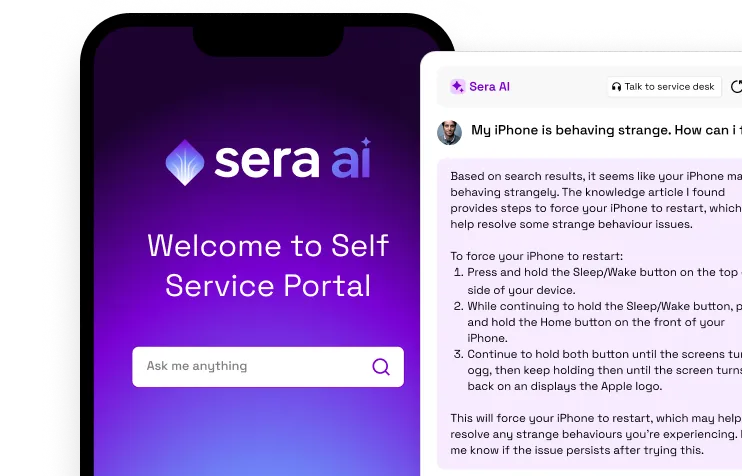
Create, organize, and continuously improve your knowledge base to find the right answers with Sera AI.
We're here to help

The integration with Atlassian Jira using the Xurrent Integration Service is

The integration with Atlassian Jira using the Xurrent Integration Service is

The integration with Atlassian Jira using the Xurrent Integration Service is

The integration with Atlassian Jira using the Xurrent Integration Service is

The integration with Atlassian Jira using the Xurrent Integration Service is

The integration with Atlassian Jira using the Xurrent Integration Service is

The integration with Atlassian Jira using the Xurrent Integration Service is

The integration with Atlassian Jira using the Xurrent Integration Service is
Resolve issues quickly with an AI-powered system that automates ticketing.
Unifiy IT, HR, Facilities, Finance, and more on a single, AI-powered service platform.
Simplify on-call scheduling, automate escalations, and reduce burnout.
Automate postmortems, AI summaries, and post-incident workflows
Create, organize, and continuously improve your knowledge base to find the right answers with Sera AI.
Resolve plant floor and IT issues before they disrupt production.
Stay audit-ready while resolving issues and reducing operational risk.

Detect, respond, and resolve incidents fast to cut downtime and MTTR.

Keep your store online, even during your biggest sales moments.

Protect patient data and resolve issues fast, so care teams stay focused on care.

Standardize service delivery across every store and channel.

We are here to help 24/7

Connect with other Xurrent Users

Get insights and tips on how to get the most out of Xurrent

Apps, APIs, and updates

Xurrent service functionality

Eliminate manual tasks, optimize workflows, and deliver faster resolutions.
Learn how organizations have reduced downtime, improved 50% MTTA & MTTR, and cut costs with Xurrent IMR.
Discover Xurrent IMR's quick support, bidirectional integrations with Jira and Slack, and more cohesive incident response capabilities compared to Opsgenie.
Understand why users value Xurrent IMR for its intuitive interface, efficient incident alerting, customizable On-call schedules, and escalations.

Add the Xurrent MCP server to Claude Desktop and sign in with OAuth, or use the mcp-remote bridge where OAuth is not available.
The Xurrent MCP server is a remote server hosted by Xurrent. There are two ways to connect Claude Desktop to it.
The Xurrent MCP server is hosted per region. Your MCP host matches your API host: the Global region has no region segment, and every other region inserts its code (for example ch for Switzerland). Production Global uses .com, Demo uses -demo.com, and QA uses .qa.
Production endpoints
| Instance | Region |
|---|---|
https://mcp.xurrent.com/mcp | Global |
https://mcp.au.xurrent.com/mcp | Australia |
https://mcp.uk.xurrent.com/mcp | United Kingdom |
https://mcp.ch.xurrent.com/mcp | Switzerland |
https://mcp.us.xurrent.com/mcp | United States |
Demo and QA follow the same regional pattern. Demo Global is https://mcp.xurrent-demo.com/mcp and QA Global is https://mcp.xurrent.qa/mcp. For a non-Global region, insert your region code the same way, for example https://mcp.ch.xurrent.qa/mcp for QA in Switzerland.
Prerequisites. Claude Desktop, and Sera AI enabled on the Xurrent account you are connecting to. An account administrator enables it under Settings, Account Settings, Sera AI.
On Claude Team and Enterprise plans, only an organization Owner can add a custom connector. The Owner adds the Xurrent MCP endpoint once, under Organization settings, Connectors, and members then select it and sign in individually. On Pro and Max plans you add the connector yourself, as described below.
That is the whole setup. There is no token to generate and no file to edit. Claude Desktop holds a short-lived access token and refreshes it in the background. See MCP Authentication for what the sign-in grants.
Use this only if your Claude Desktop cannot add a remote connector. It needs Node.js and a Personal Access Token.
Prerequisites
node -v. If you are below this version, see Troubleshooting before continuing.Open your Claude Desktop config file:
~/Library/Application Support/Claude/claude_desktop_config.json%APPDATA%\Claude\claude_desktop_config.jsonAdd the block below, replacing the placeholders:
{
  "mcpServers": {
    "xurrent-mcp": {
      "command": "npx",
      "args": [
        "-y",
        "mcp-remote",
        "YOUR_REGIONAL_MCP_ENDPOINT",
        "--header",
        "Authorization: Bearer YOUR_PAT_HERE"
      ]
    }
  }
}
Replace YOUR_REGIONAL_MCP_ENDPOINT with the full URL from the table above, and YOUR_PAT_HERE with your Personal Access Token.
Note on the npx path. Claude Desktop does not inherit your terminal's PATH. If you installed Node via nvm or Homebrew, a bare npx will fail to launch with "No such file or directory".
Find the absolute path to npx (use where npx on Windows):
which npxThen use the full path as the command value. On macOS:
"command": "/Users/<you>/.nvm/versions/node/v22.22.3/bin/npx"On Windows, double the backslashes so the JSON stays valid:
"command": "C:\\Program Files\\nodejs\\npx.cmd"You can run several connections side by side, for example Production and QA at once. Give each a different key (xurrent-mcp and xurrent-mcp-qa) with the matching endpoint.
Fully quit Claude Desktop (Cmd+Q on macOS, not just closing the window) and relaunch. The config is only re-read on a full restart.
Click the tools icon in Claude Desktop's chat input. You should see the Xurrent tools listed. Seeing the tools confirms the connection reached the server; it does not confirm you are authorized. To confirm that, run a real query, for example "What are my open requests in Xurrent?" If data comes back, you are connected.
If the tools appear but a query returns a 403, the problem is the account or the credential, not the client setup. Check that Sera AI is enabled on the account, and that a PAT, if you used one, resolves to a support domain account.
@xurrent/mcp-server npm package. The Xurrent MCP server is remote, not a local package.XURRENT_API_TOKEN and XURRENT_ACCOUNT environment variables do not work. To target a specific account, which is required if your PAT is from a Directory Account, add a second header in the args:"--header",
"X-Xurrent-Account: YOUR_SUPPORT_DOMAIN_ACCOUNT_ID"See MCP Authentication for both credential routes, Available Tools and Capabilities for what you can ask for, and Troubleshooting if something is not working.


.webp)
.webp)
.webp)