






Blog
Insights & updates from our experts


Resolve plant floor and IT issues before they disrupt production.

Stay audit-ready while resolving issues and reducing operational risk.
Resolve issues quickly with an AI-powered system that automates ticketing.
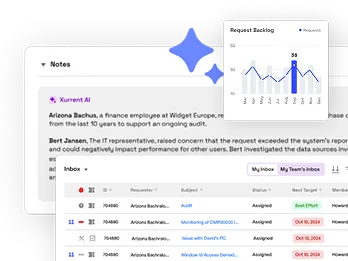
Unifiy IT, HR, Facilities, Finance, and more on a single, AI-powered service platform.
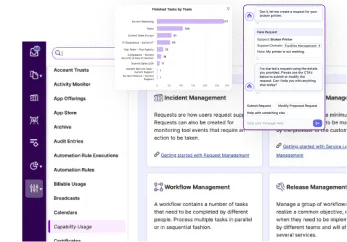
Simplify on-call scheduling, automate escalations, and reduce burnout.
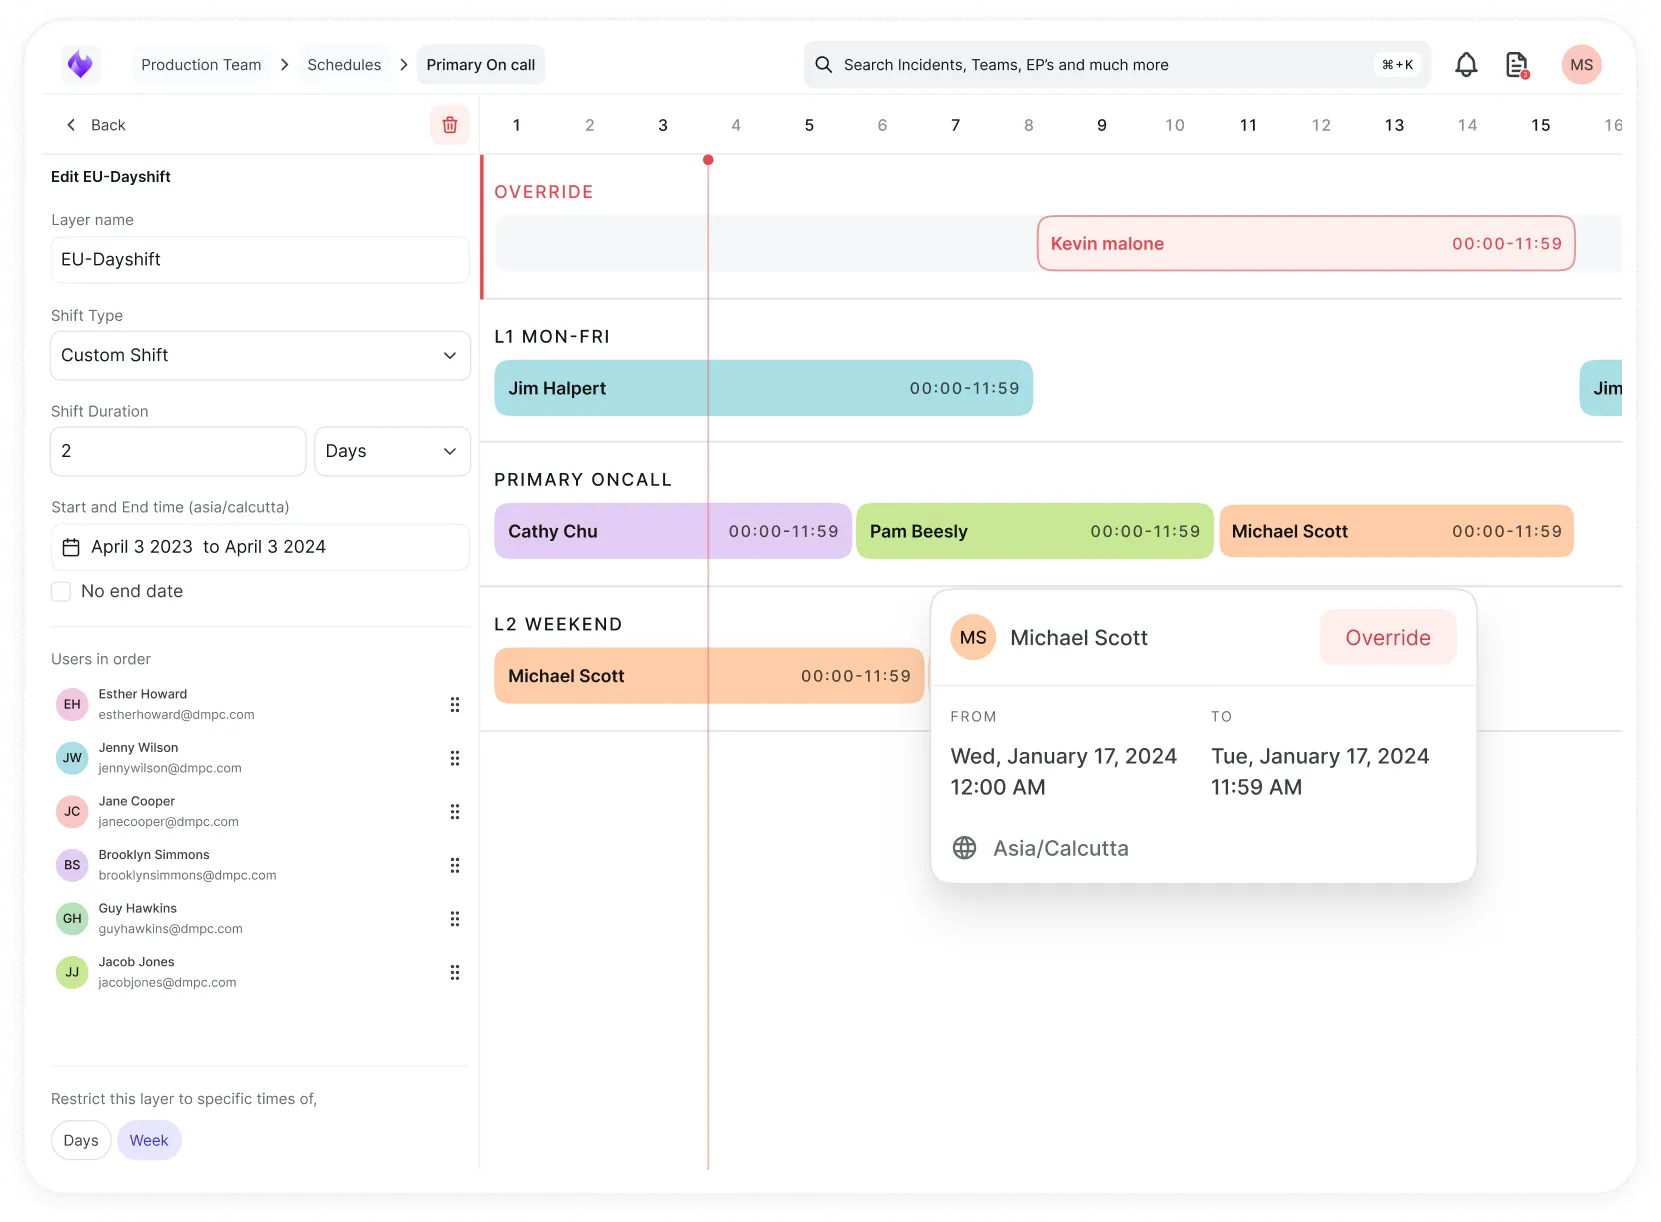
Automate postmortems, AI summaries, and post-incident workflows
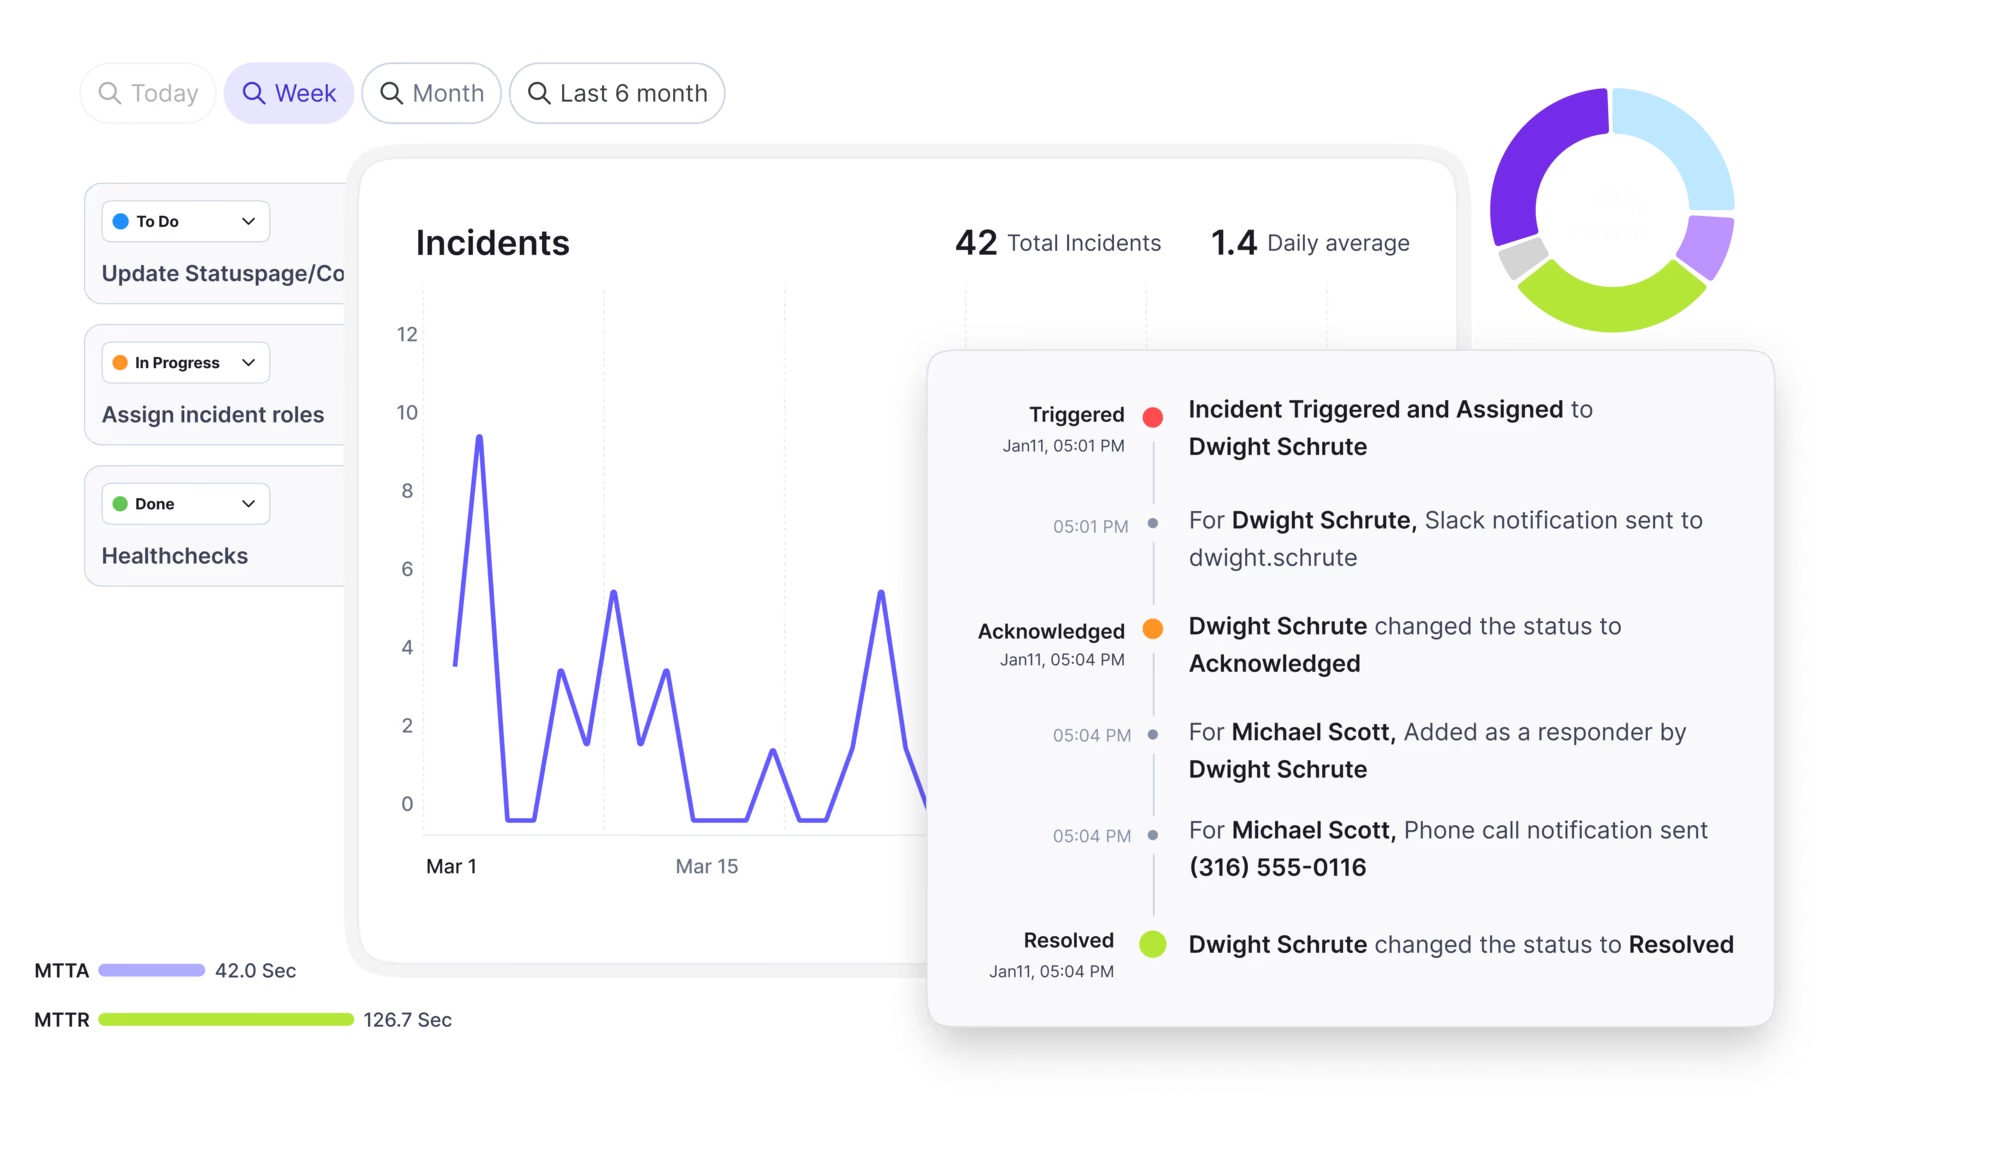
Create, organize, and continuously improve your knowledge base to find the right answers with Sera AI.
We're here to help

The integration with Atlassian Jira using the Xurrent Integration Service is

The integration with Atlassian Jira using the Xurrent Integration Service is

The integration with Atlassian Jira using the Xurrent Integration Service is

The integration with Atlassian Jira using the Xurrent Integration Service is

The integration with Atlassian Jira using the Xurrent Integration Service is

The integration with Atlassian Jira using the Xurrent Integration Service is

The integration with Atlassian Jira using the Xurrent Integration Service is

The integration with Atlassian Jira using the Xurrent Integration Service is
Resolve issues quickly with an AI-powered system that automates ticketing.
Unifiy IT, HR, Facilities, Finance, and more on a single, AI-powered service platform.
Simplify on-call scheduling, automate escalations, and reduce burnout.
Automate postmortems, AI summaries, and post-incident workflows
Create, organize, and continuously improve your knowledge base to find the right answers with Sera AI.
Resolve plant floor and IT issues before they disrupt production.
Stay audit-ready while resolving issues and reducing operational risk.

Detect, respond, and resolve incidents fast to cut downtime and MTTR.

Keep your store online, even during your biggest sales moments.

Protect patient data and resolve issues fast, so care teams stay focused on care.

Standardize service delivery across every store and channel.

We are here to help 24/7

Connect with other Xurrent Users

Get insights and tips on how to get the most out of Xurrent

Apps, APIs, and updates

Xurrent service functionality

Eliminate manual tasks, optimize workflows, and deliver faster resolutions.
Learn how organizations have reduced downtime, improved 50% MTTA & MTTR, and cut costs with Xurrent IMR.
Discover Xurrent IMR's quick support, bidirectional integrations with Jira and Slack, and more cohesive incident response capabilities compared to Opsgenie.
Understand why users value Xurrent IMR for its intuitive interface, efficient incident alerting, customizable On-call schedules, and escalations.

Integrate ClickUp with Xurrent iPaaS to manage tasks, comments, attachments, and workspace data, and trigger automated workflows based on ClickUp events.
The ClickUp connector enables integration between ClickUp and Xurrent iPaaS, allowing you to manage ClickUp tasks, comments, attachments, and workspace structure, as well as trigger workflows based on ClickUp events.
To use this connector, you need:
The ClickUp connector supports authentication using a ClickUp API token or an OAuth2 access token.
You can use a ClickUp personal API token generated from ClickUp.
Personal API tokens start with pk_.
The token can be generated in ClickUp under:
Settings → Apps → API Token
When a personal API token is provided, the connector sends it using:
Authorization: <token>
The connector also supports an OAuth2 access token.
OAuth2 tokens are sent using:
Authorization: Bearer <token>
The connector automatically detects whether the provided token is a personal API token or an OAuth2 access token.
Tokens are stored securely and encrypted. The token is not displayed after the connection has been saved.
If you are using a personal API token:
In Xurrent iPaaS:
The selected Workspace is associated with the connection and is used by all actions and triggers configured with that connection.
If you need to integrate with another ClickUp Workspace, create a separate ClickUp connection for that Workspace.
The ClickUp connector provides actions for tasks, comments, attachments, and ClickUp workspace structure.
The connector also provides read actions that can be used to retrieve ClickUp IDs and other information at runtime:
These lookup actions are useful when IDs need to be retrieved dynamically instead of being hard-coded.
The ClickUp Event trigger starts an Xurrent iPaaS workflow when a selected ClickUp webhook event occurs.
The trigger supports task, list, folder, space, goal, and key-result events.
You can select one or more supported ClickUp webhook events when configuring the trigger.
When multiple events are selected, the trigger provides an event output field identifying the event that caused the workflow to start.
The webhook is registered against the Workspace configured in the ClickUp connection.
ClickUp signs webhook deliveries, and the connector verifies the webhook signature before processing the event.
The trigger supports optional filters to control which ClickUp events start the workflow.
Available filtering includes:
The status and assignee filters apply to the corresponding event types, while other selected event types are delivered without those filters.
For busy ClickUp Workspaces, use location filters where possible to limit unnecessary webhook deliveries.
To configure the trigger:
When an event is received, the workflow starts automatically after the webhook delivery has been validated.
event output to determine which event triggered the workflow.ClickUp API rate limits depend on the ClickUp plan and authentication configuration.
For most plans, ClickUp allows approximately 100 requests per minute per token. Higher limits may apply to Business Plus and Enterprise plans.
The connector provides automatic handling for ClickUp rate-limit responses:
Retry-After response header when provided by ClickUp.Retry-After is not provided, the connector waits 60 seconds before retrying.For high-volume workflows, design the Runbook to avoid unnecessary API requests and use the available lookup and filtering capabilities efficiently.

.webp)
.webp)

.webp)