.webp)
%20(1).webp)
Blog
Insights & updates from our experts
Resolve issues quickly with an AI-powered system that automates ticketing.

Resolve issues quickly with an AI-powered system that automates ticketing.

Resolve issues quickly with an AI-powered system that automates ticketing.

Resolve issues quickly with an AI-powered system that automates ticketing.
Resolve issues quickly with an AI-powered system that automates ticketing.
Resolve issues quickly with an AI-powered system that automates ticketing.
Simplify on-call scheduling, automate escalations, and reduce burnout.
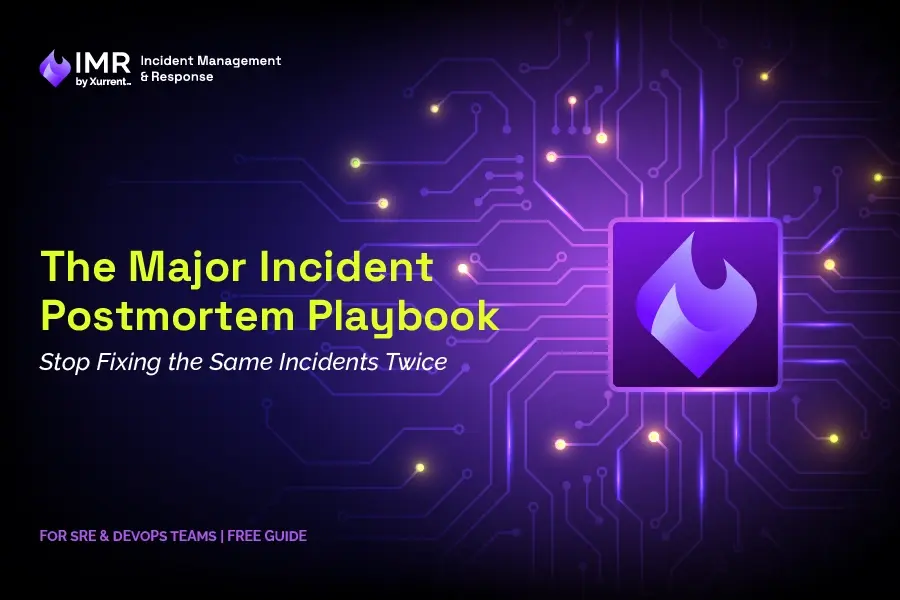
Automate postmortems, AI summaries, and post-incident workflows
We're here to help

The integration with Atlassian Jira using the Xurrent Integration Service is

The integration with Atlassian Jira using the Xurrent Integration Service is

The integration with Atlassian Jira using the Xurrent Integration Service is

The integration with Atlassian Jira using the Xurrent Integration Service is

The integration with Atlassian Jira using the Xurrent Integration Service is

The integration with Atlassian Jira using the Xurrent Integration Service is

The integration with Atlassian Jira using the Xurrent Integration Service is

The integration with Atlassian Jira using the Xurrent Integration Service is
Resolve issues quickly with an AI-powered system that automates ticketing.
Resolve issues quickly with an AI-powered system that automates ticketing.
Simplify on-call scheduling, automate escalations, and reduce burnout.
Automate postmortems, AI summaries, and post-incident workflows
Resolve issues quickly with an AI-powered system that automates ticketing.
Resolve issues quickly with an AI-powered system that automates ticketing.
Resolve issues quickly with an AI-powered system that automates ticketing.
Resolve issues quickly with an AI-powered system that automates ticketing.

We are here to help 24/7

Connect with other Xurrent Users

Get insights and tips on how to get the most out of Xurrent

Apps, APIs, and updates

Xurrent service functionality
Eliminate manual tasks, optimize workflows, and deliver faster resolutions.
Learn how organizations have reduced downtime, improved 50% MTTA & MTTR, and cut costs with Xurrent IMR.
Discover Xurrent IMR's quick support, bidirectional integrations with Jira and Slack, and more cohesive incident response capabilities compared to Opsgenie.
Understand why users value Xurrent IMR for its intuitive interface, efficient incident alerting, customizable On-call schedules, and escalations.
We kicked off the second half of the year by solving the biggest mystery in incident response: "What actually broke?" When an alert wakes you up at 3:00 AM, the hardest part isn't acknowledging it—it’s figuring out where the problem started. Is it your service, or is the database team’s upgrade causing a ripple effect?
To end the guessing game, we launched the Service Catalog. This feature visualizes your entire tech stack, showing you exactly which upstream services you depend on and which downstream services rely on you. Now, instead of hunting through five different dashboards to find the root cause, you can see the blast radius instantly. It gives your responders the context they need to pull the right people into the war room immediately, drastically cutting down the time it takes to resolve an outage.
Start configuring your Service catalog now — check out the documentation to get started.

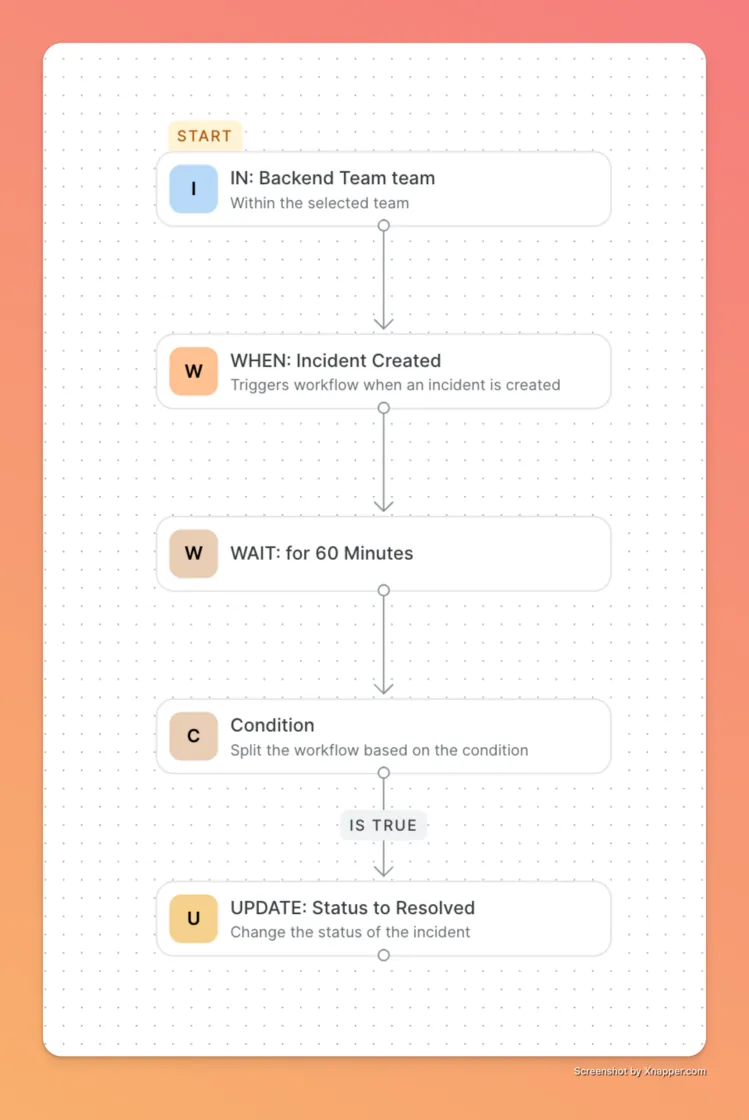
For years, "incident management" often meant manually creating a Zoom bridge, typing out a Slack announcement, and updating a ticket status while trying to fix a server. It was repetitive, distracting, and prone to human error.
We introduced Workflows to take that busywork off your plate. This is your new automation engine. You can now build precise rules like "If a P1 incident hits, wait 5 minutes, then automatically escalate to the engineering manager and create a Jira ticket". You can even set it to auto-resolve low-priority alerts if they stay quiet for a set time. It lets you design exactly how your incidents should behave, ensuring your process is consistent every single time without you lifting a finger.
Explore the documentation to get started.
Let us know what use cases you're trying to build and what we can do better to help you set up workflow automations here.
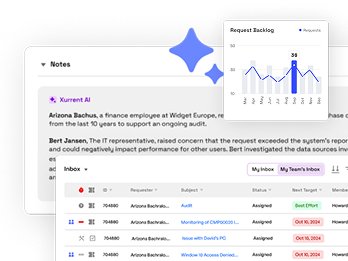
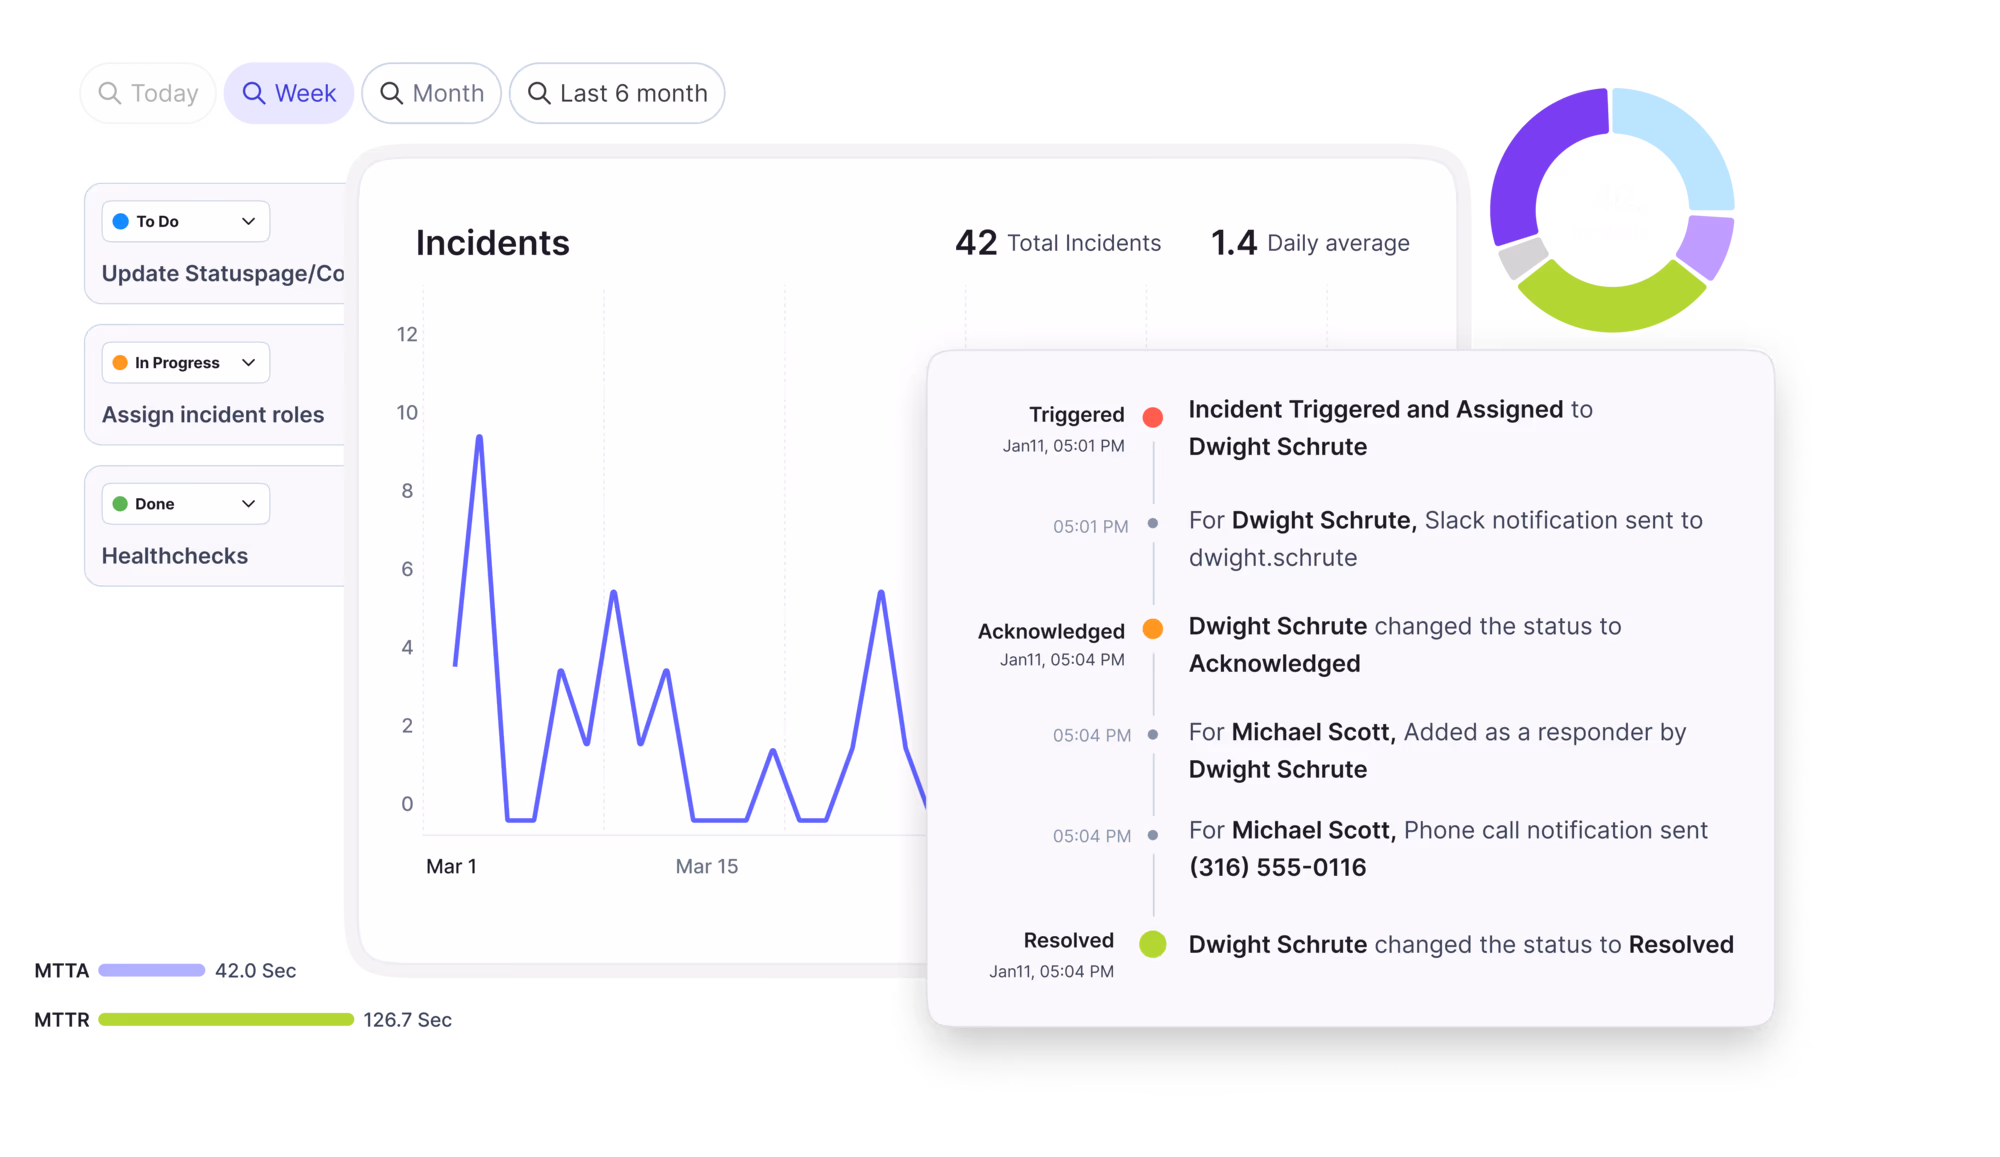
You collect a ton of data during incidents, but getting answers out of that data used to be frustrating. If you wanted to know "How many high-urgency incidents did the API team handle last month?" you often had to export a CSV and fight with a spreadsheet.
We rebuilt the Analytics Experience with Advanced Filtering to give you sharper insights right inside the platform. You can now slice and dice your incident data by Team, Service, User, Priority, Urgency, and even specific Tags. Whether you are tracking team health or auditing SLA breaches, you now have the granular control to find the exact metric you need in seconds.
Switch to the new view and tell us what you think here.

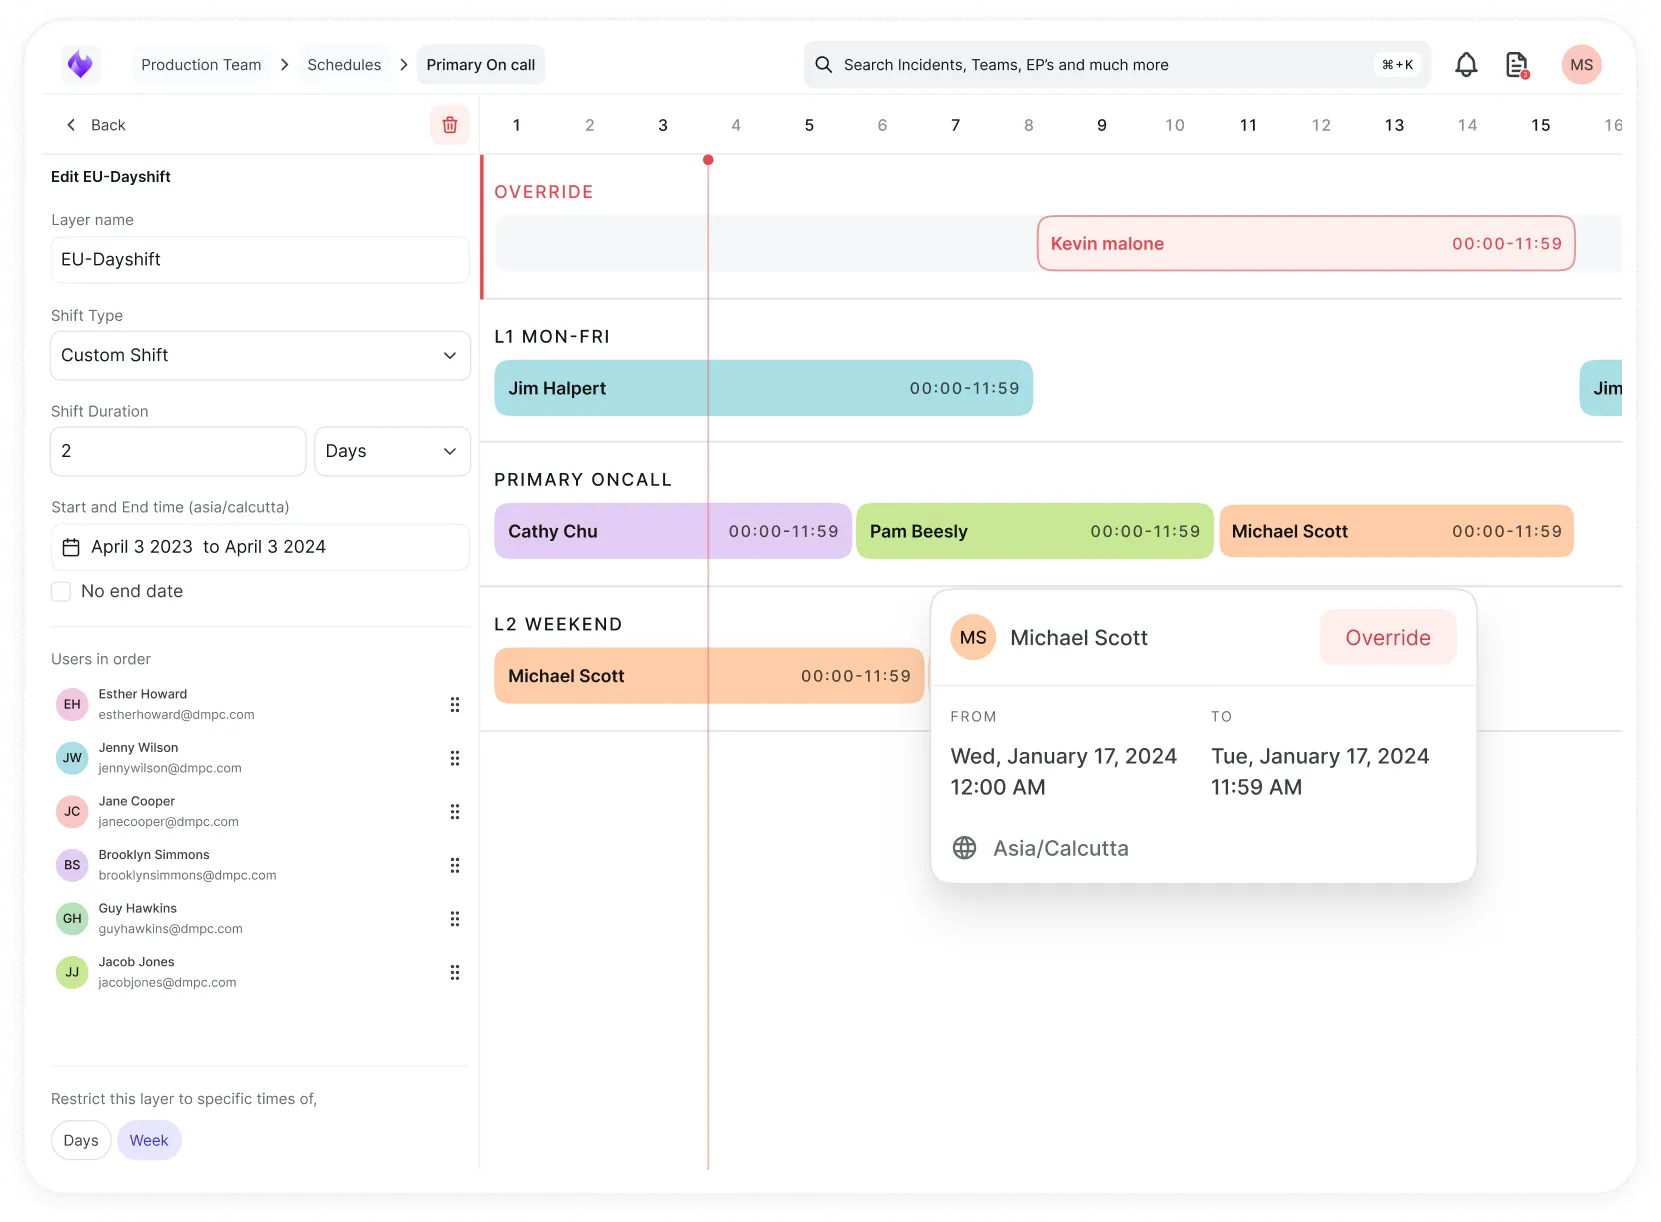
Post-mortems are critical for learning, but they are painful when you can't reconstruct the timeline. Trying to figure out if Dave actually saw the page or when Sarah joined the call used to involve digging through carrier logs and chat history.
We added the Responder Timeline to the incident details view to fix this. This feature logs every single interaction chronologically. You can see exactly when a responder was notified, which notification channel was used, and the precise second they accepted or rejected the request. It brings total transparency to your response flow, making it easy for Incident Commanders to see who is engaged and for managers to review how the response unfolded.

Also, Responders can now choose how they are notified when they are added to an incident.
Previously, responders were notified across all channels (calls, emails, SMS, push, chat apps) at once, which often led to notification overload during critical incidents.

With this update:
You will find this setting under Profile → Notification Rules → Responder Preferences.
On the Incidents dashboard, you can now filter by “I am a responder” to instantly view incidents where you’ve been added as a responder.

This makes it easier to:
Head to your Incidents dashboard and try the new Responder filter today.
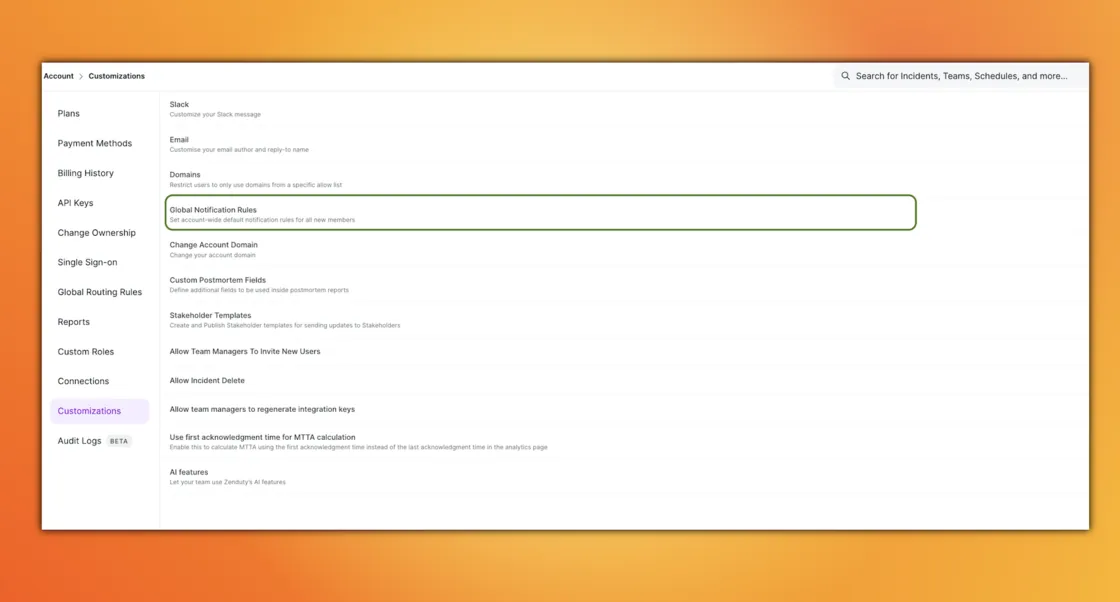
Onboarding new team members is great until they miss a critical P1 because they forgot to set up their notification rules. It’s a classic problem that leaves teams vulnerable.
We solved this with Global Notification Rules. Account owners and admins can now define default notification rules for the entire organization. This means as soon as a new engineer joins and adds their contact info, they are automatically covered by the standard alerting policy. It ensures consistent coverage across the board while still giving individual users the freedom to tweak their personal preferences later
Managing multiple alert rules just got easier. You can now enable or disable individual Alert Rules without deleting them.

If you’re running 15–20 rules but only need a subset to be active, simply toggle off the ones you don’t want processed. This gives you the flexibility to:
Pause rules temporarily during testing or maintenance
Quickly switch off rules that don’t apply in certain scenarios
Keep your configurations intact for later use, without starting from scratch
Let us know how these features help you, or if there are any other improvements you would like to see here.


.webp)